Ok, now we know what the old system looked like and how it was while running with my comp. Well now see in full illustration on the new and improved!!!


Part 2


Sawtooth part 3

Third is the top fan mods 1 & 2:


Part 1


Well, due to my sawtooth running real hot with the fans and all, my GPU and hard drives got to a nice toasty 60 degrees Celsius. NOT GOOD!!


So i decided to take a page from Aqua-Macs MDD and Quicksilver mods. A dual fan on top for exhaust. Yes my cutting isn't the straightest, nor is it the best, but i like it and it gets the job done.

This is a pic during the process. I used the fans for the 4 hole template and i used a jigsaw for cutting out the center holes.
Here is the finished product in running order. Now my hard drives are at a constant 40 degrees celcius and my GPU is at a constant 44. Better than the 52 when i first put it in.
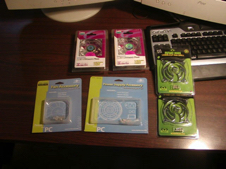
Well, here is some of the parts i got today. All told, these parts cost me $60 CND.
Here i had to clean off some of my desk for workspace.
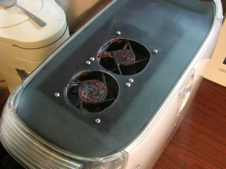
Here is a shot of the old fans in place. Yes that is pretty ugly for cutting and I have modded several cases.
Here is a shot of the inside looking at the fans and how they pull air from the rest of the case.
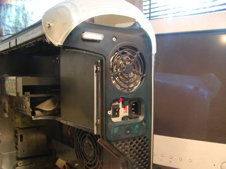
This is a lovely shot of my 450W power supply. Yes, this is getting a revamp also.
First I had to take the side panel off (again) in order to get to the power supply.
Here is a shot of what my one side looks like. At least none of the wires here are bare exposed.
Next I had to take off the handles in order to take off the top plate.
In order to take off the top plate, you must gently pull back and it will release the 6 clips holding the top on.
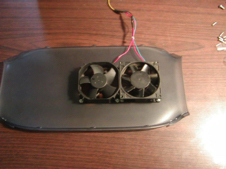
This is a shot of what the top plate looks like from the reverse side.
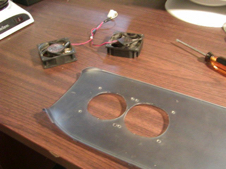
Well, time for these noisy pieces of crap to hit the garbage. I have no idea of how old they are.
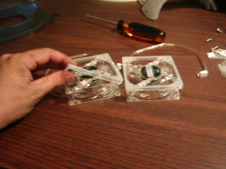
Here are the new fans with the dampeners fitted in place.
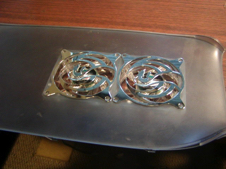
Here is a mockup of how they will sit on the top plate. Fans and fan grills.
A shot of the top in place and the handles back on the comp. Don't mind the G3 B&W handle.
A shot of the fans in place. Using standard 1cm bolts and just tighten them in place with a nut.
Here is a shot with the power wires in place. Yes, kind of messy, but hidden by the side panel.
And now on to the power supply. Oh boy, this is going to be fun. In order for me to get to the power supply, I had to remove the front CD cover, and the 2 screws.
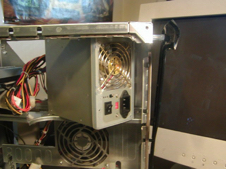
Unfortunately with all my wires set in place this is how much room I had to play with.
Here is what everything looks like from the back.
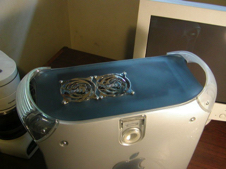
Here is a shot of the back cover back on and the power supply back in place.
Here is a pic with everything in place, all plugged in and showing all it's wonderful splendor.
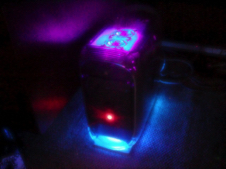
A dark shot. I like this, the red, blue and purple mix really well.